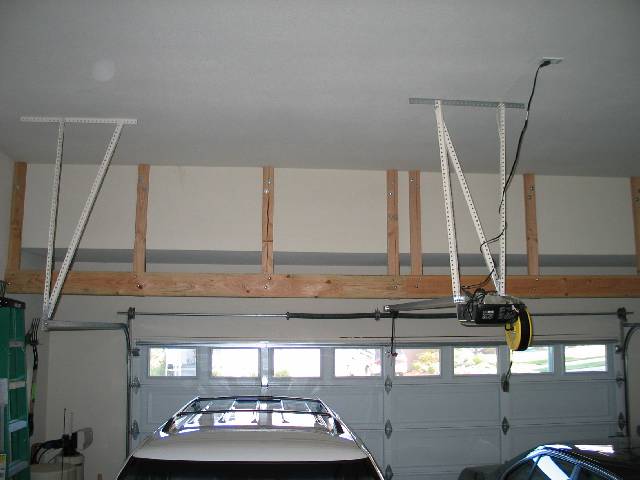
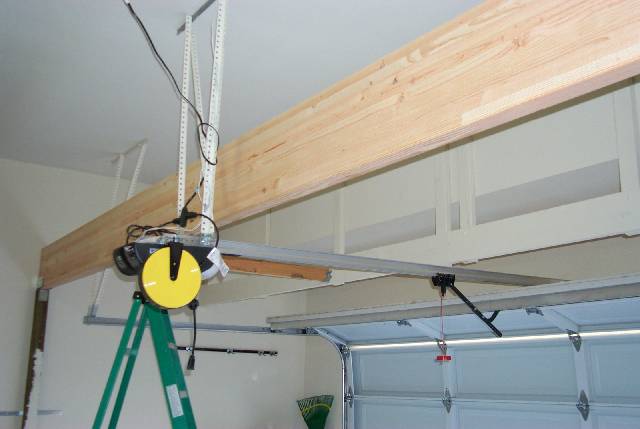
I started by hanging a header board from 8 2x4s that are bolted into a beam that sits behind that soffet. The vertical 2x4s are tied into the beam using 5 inch lag bolts (total of 16, 2 per). They're tied to the header board using carriage bolts/washers/lock washers/nuts (again, 16, 2 per).
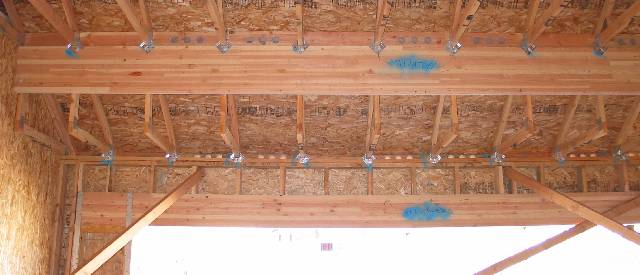
Here's a time warp / X-ray vision picture so you can see the beam that those vertical 2x4s are tied into:
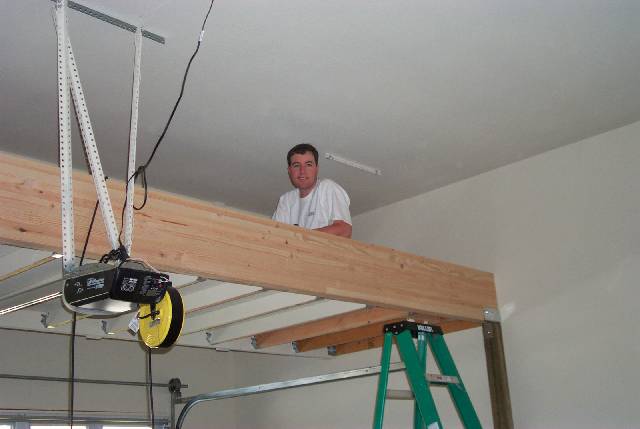
Once that header was in, Dan, Dan, and Mathias came over to help me place the back beam atop the 4x4 posts:
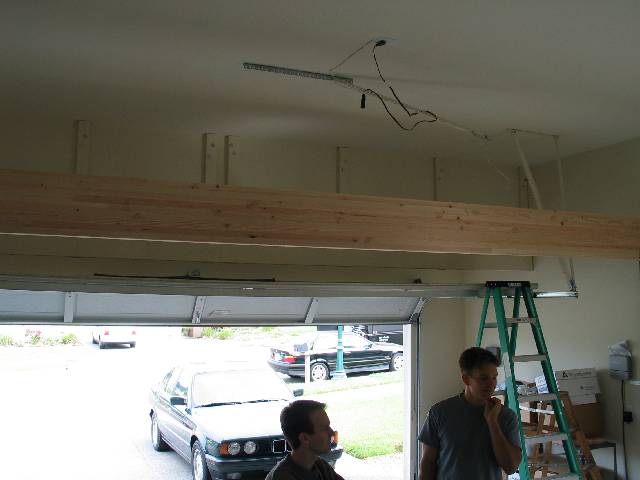
The beam is from Burgess Lumber. Interestingly, the beam is 21' long, which is the width the garage. The diagonal across the face of the beam is theoretically only 21.03', but lifting it into place with one vertical motion proved unworkable as since the corners of the beam hit the wall - probably due to the interference of the post/beam strong ties. So we had to hoist one end atop one of the support posts, then lift the other end vertically several feet to the side of the 2nd post, and only then move it toward the 2nd post and place it on top. Whew!
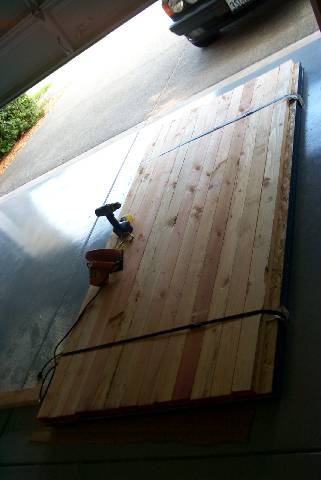
Here's the lumber to build the joists and flooring of the loft:
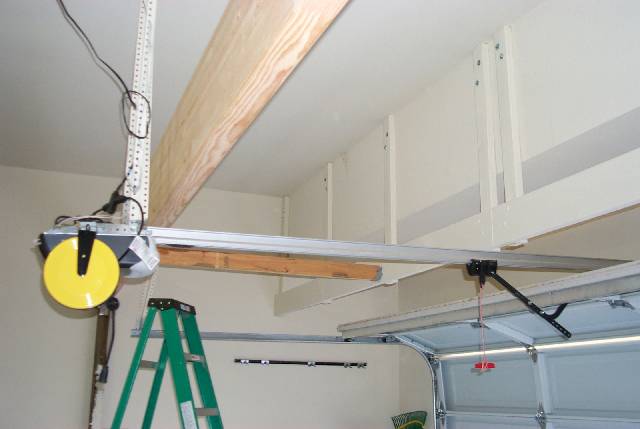
Now the joists are in...

And now the floor is in and the garage door support angle irons are cut and reattached to the loft structure. The floor is of course screwed down to the supporting 2x4s.
Note that Jen did a great job painting all the wood (it's all painted now, despite what is shown in this picture). It matches the finished walls and ceilings of the garage!