Main to Axiom PCB Wiring
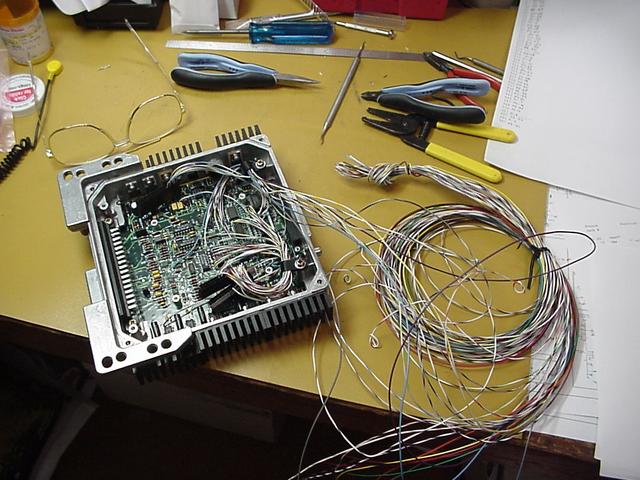
Well I couldn't put it off any longer. I knew I would have to build all the interconnecting cables between
the main IO board and the Axiom assembly eventually. This was a couple day process because it is a bit tedious and I tend to over check myself. Don't
want to hook one of those fragile MPC-555 pins to the car battery as they wouldn't last a blink of an eye. Started with P1 and worked my
way around the board in an ascending order. The stanchions holding the old upper board came in handy as a mounting point for a couple
of strain release clamps. I tried to route the wires in a manner so that the Axiom PCB could be lifted to gain access to the main board
below while still functioning.
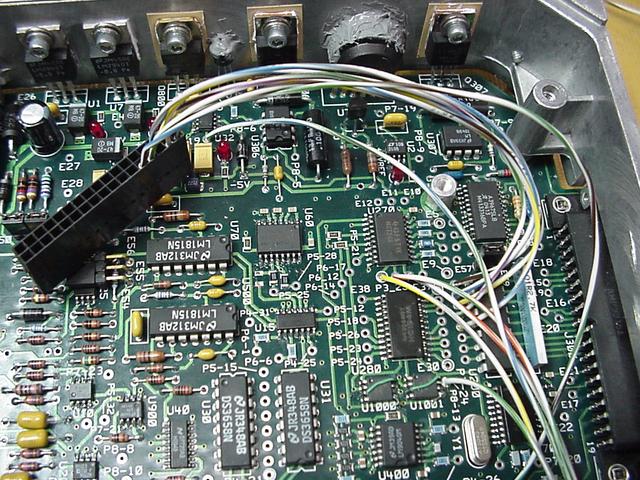
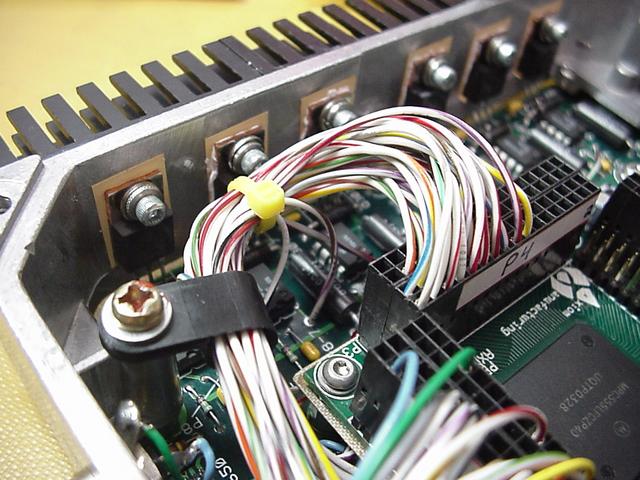
P1 wires connected. There aren't very many pins holding this plug down so later I added a couple more on the other side to give a little
bit more holding power.
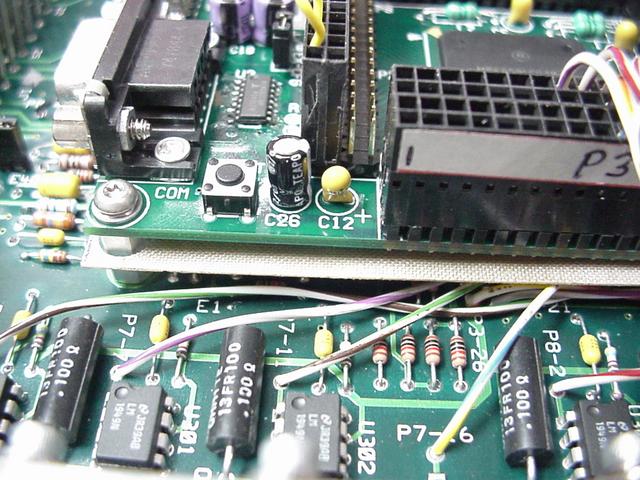
P3 routed next.
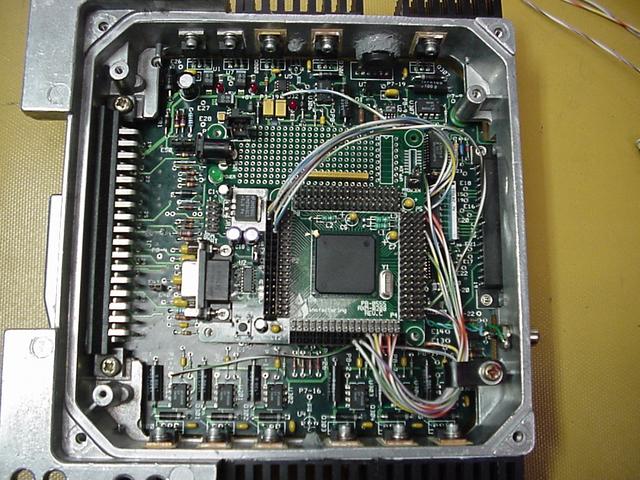
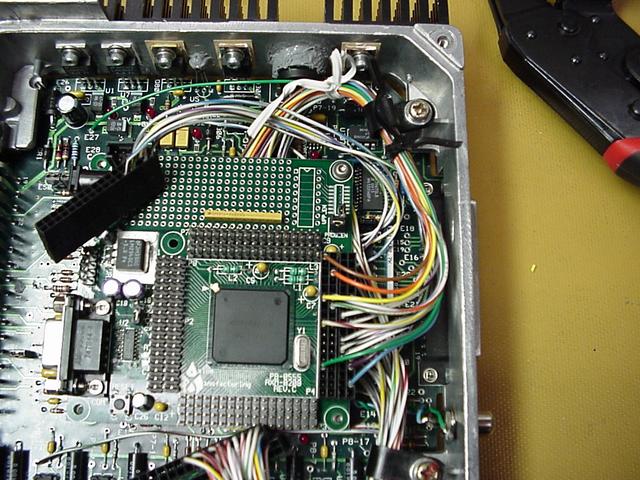
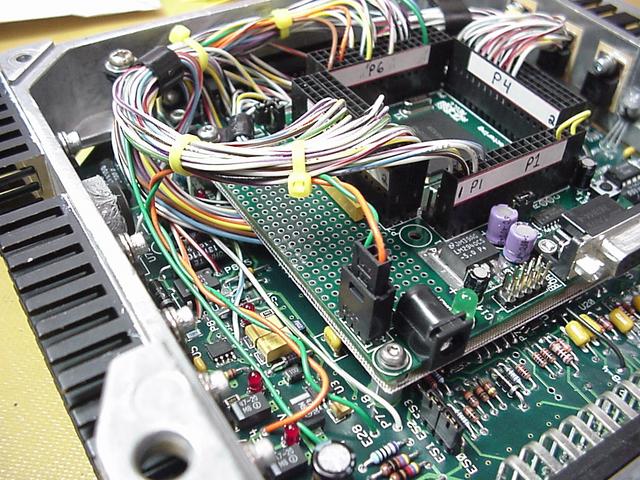
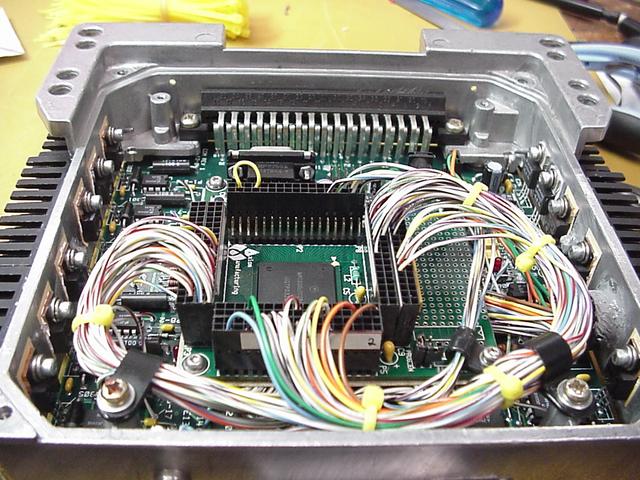
The Axiom installed with P1 and P3 in place.
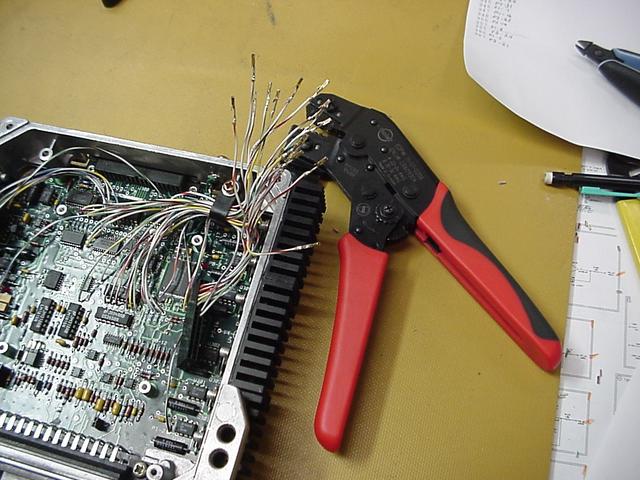
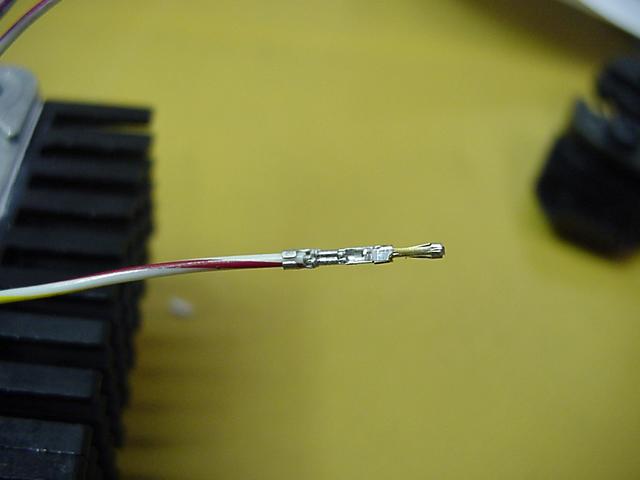
Crimping all these connections without the proper tool would be a real nightmare. The tool is a bit pricey ($180) but is just about
an absolute requirement.
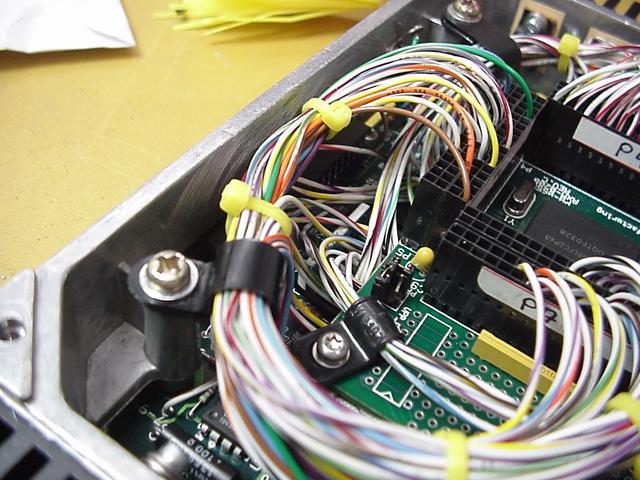
Rats nest of wires getting ready for P5.
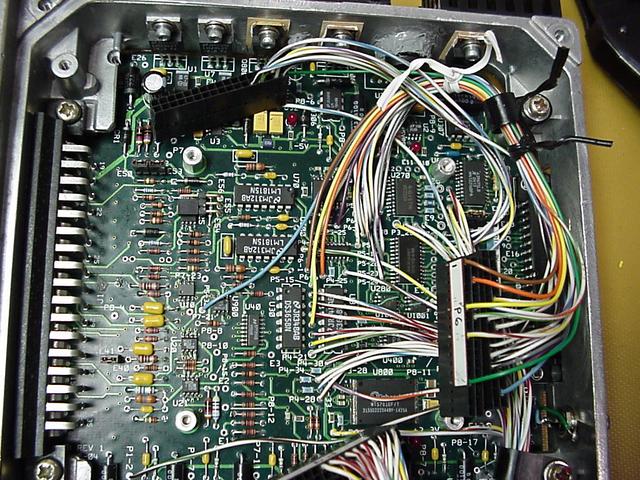
P6 routing and fitting.
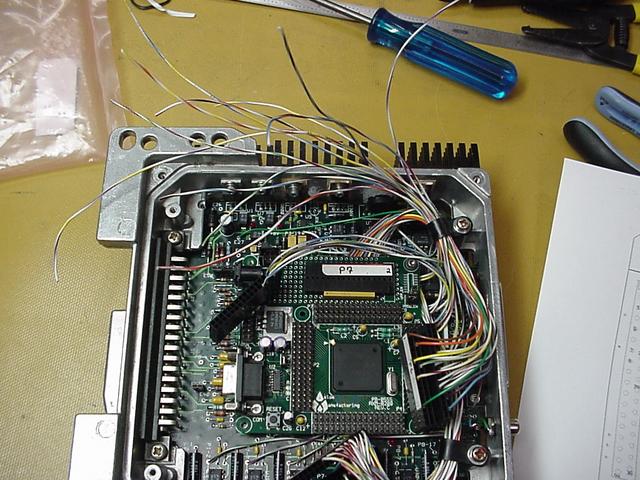
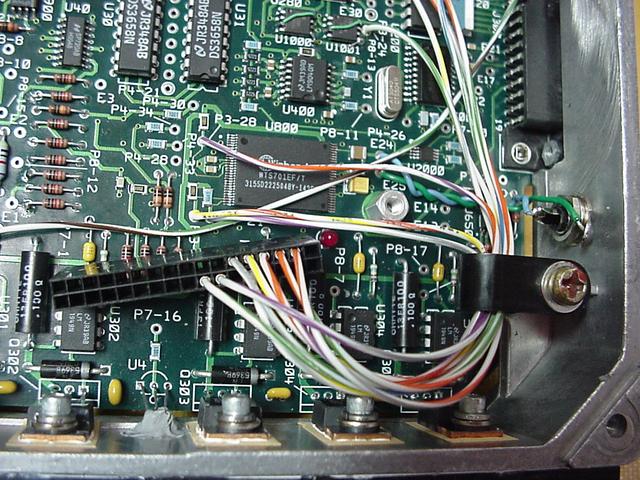
By the time P7 comes around things are beginning to get real crowded.
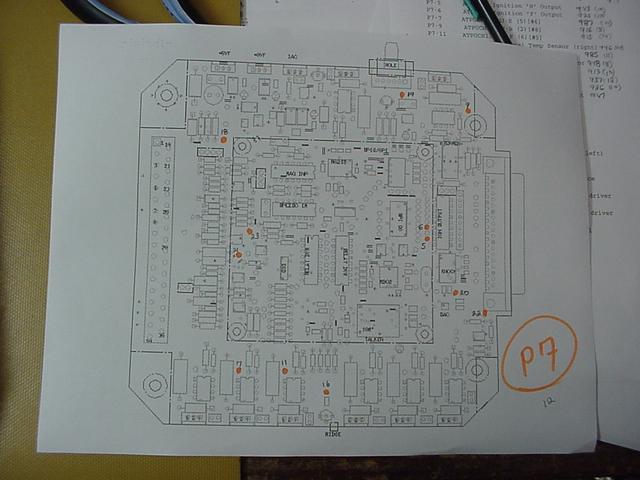
Cheat sheets come in handy as one more double check.


Final P7 routing.

Wires for P8. Some of the clamps were getting pretty full at this point. One more wire please....
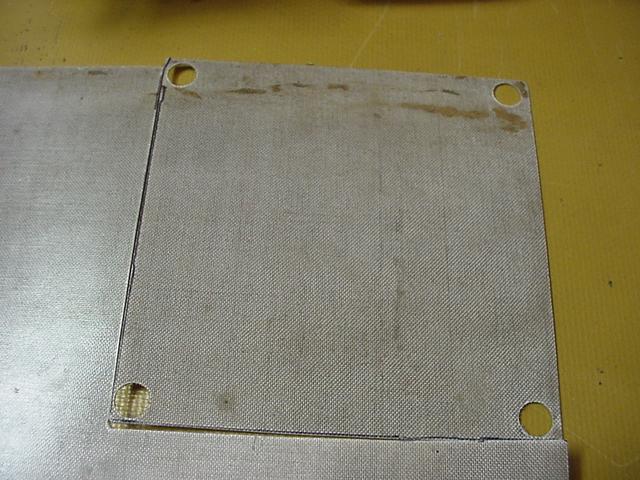

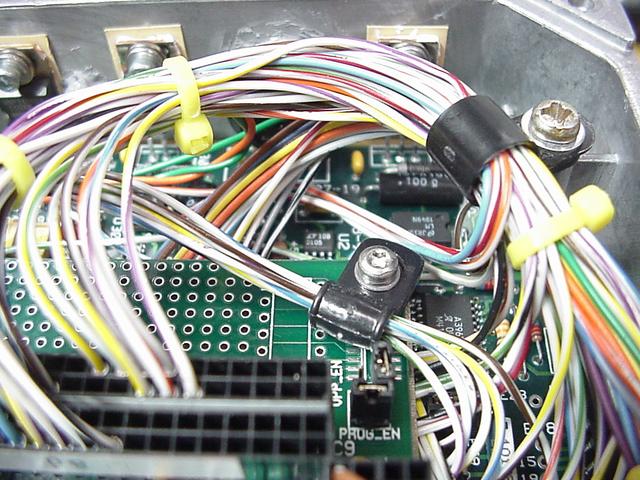
Because there is quite a pack of wire below the Axiom PCB and the header pins on the under side of the Axiom board are
very sharp I was concerned
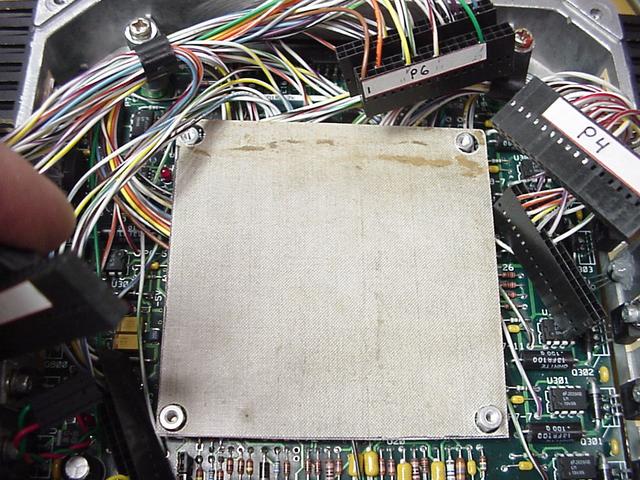
that with vibration and heat in the car that a wire may eventually get its insulation poked through. I found some thin fiber glass material
and made a non-conductive shield below the Axiom assembly. Worked out pretty well.

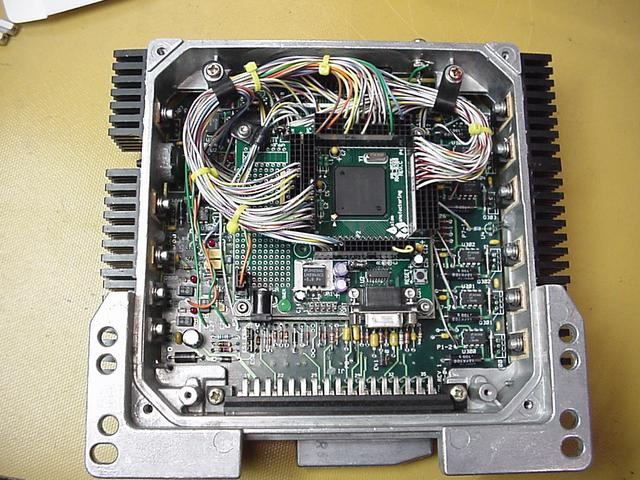
Final installation views.