PCB Installation
Decided to install the PCB into the chassis before figuring out the wiring to the Axiom
PCB. I think it will be getting pretty crowded with all those wires so installing the main board seemed
like the next logical step.
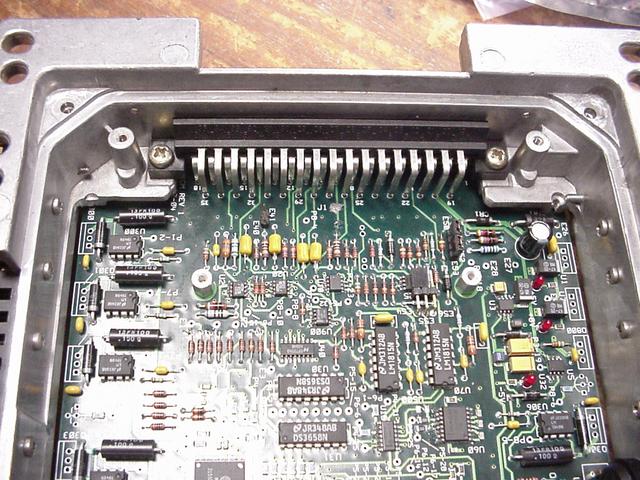

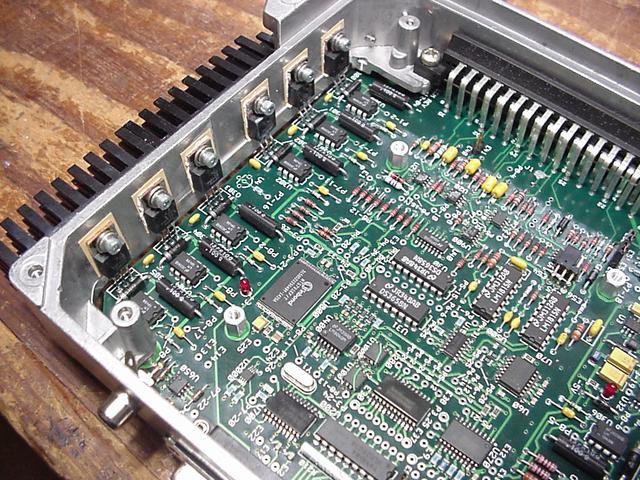
Both the main input connector and the barometric sensor needed to be in place as the PCB went into the chassis.
A quick scan to make sure everything clears is in order. Once the board is soldered in place that will be it.
I loosely installed the bottom shield screws to prevent damage to the bottom side SMT components as I was working on the assembly.
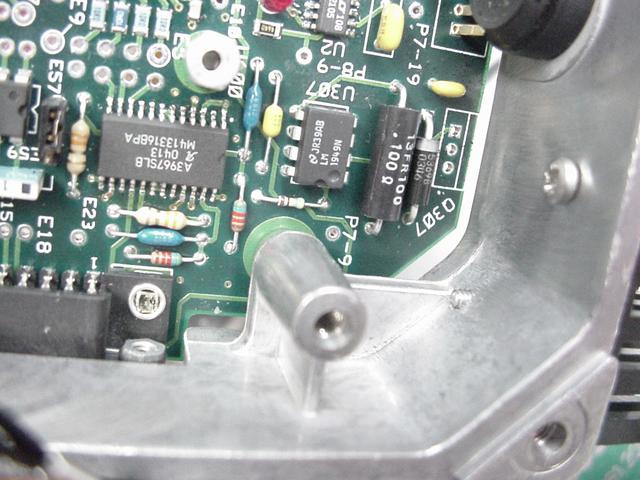
A little Dow Corning 3145 RTV adhesive/sealant around the pressure sensor will keep it in place. Without any support
you would have to remove the cover to hold the sensor in place while installing an external hose. This 3145 RTV is
great stuff as it should be for close to $14 an ounce.
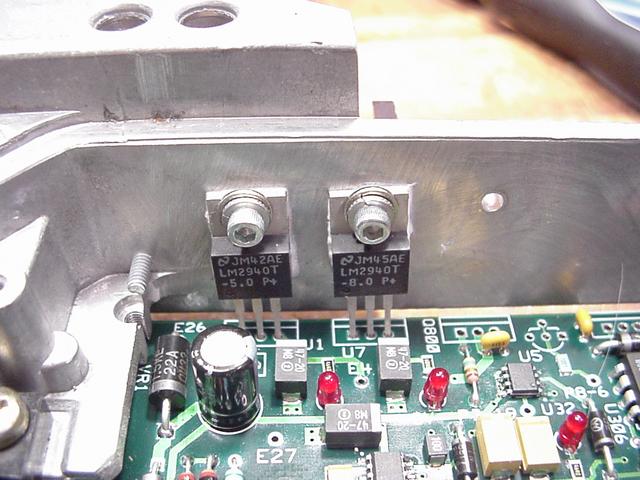
Started installing the TO-220 devices to the case. Here are the two main regulators.
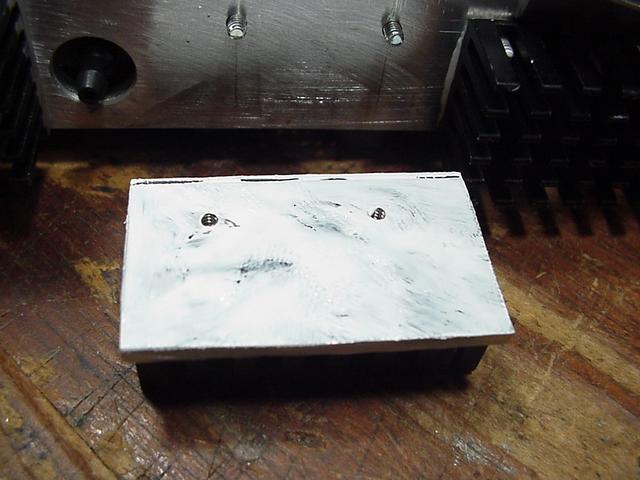
Each heat sink segments also gets a coat of 'Heat Sink Compound'.
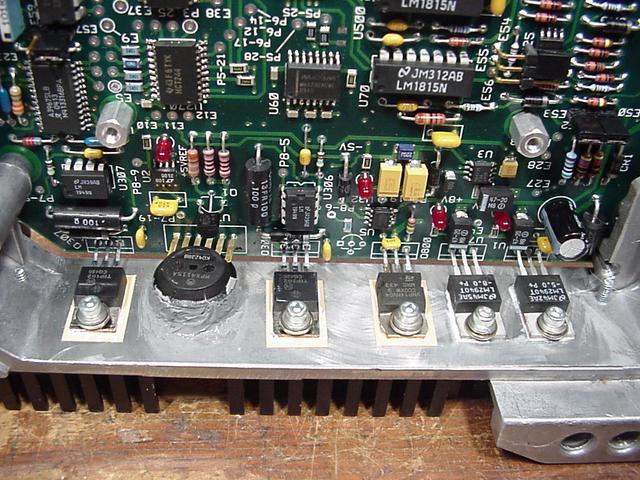
The starboard side loaded.

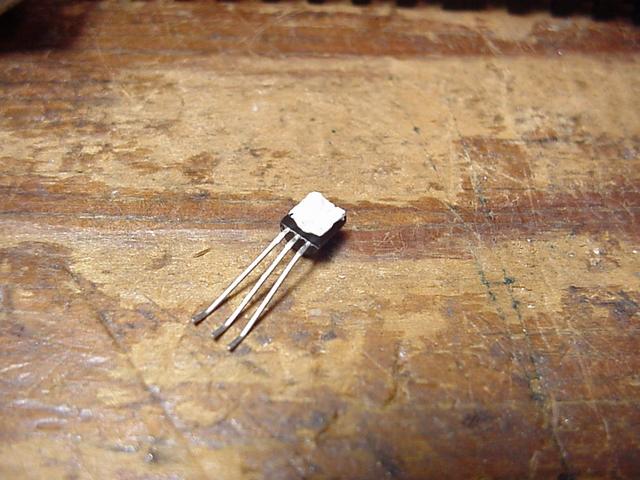
Need to make sure that leads are properly formed. Never bend against the body of the device as it will fracture it
internally and cause an early failure.
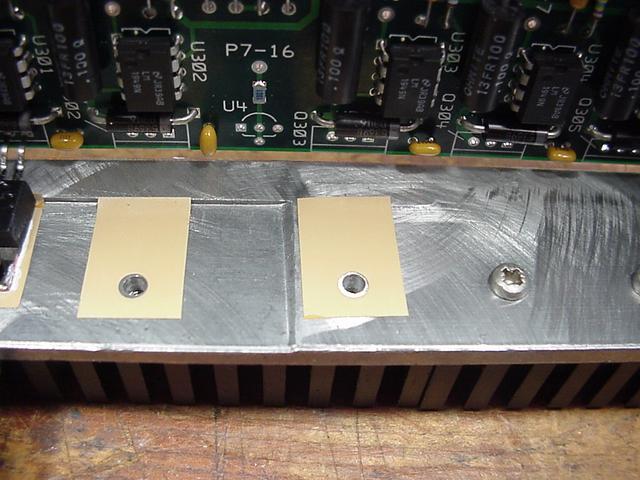
All TO-220 devices, with the exception of the two main regulators which have grounded tabs, got an insulating pad. Of coarse
the mounting hardware also isolated the tab of each transistor.
Port side loaded...
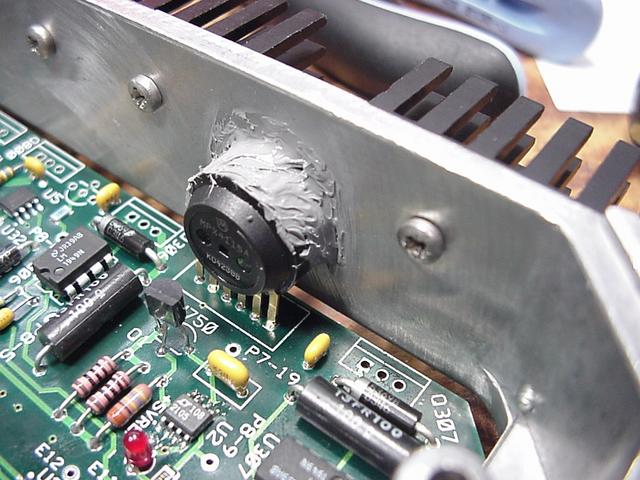
A little dab of thermal compound on the flat side of the LM34CAZ temperature sensors.

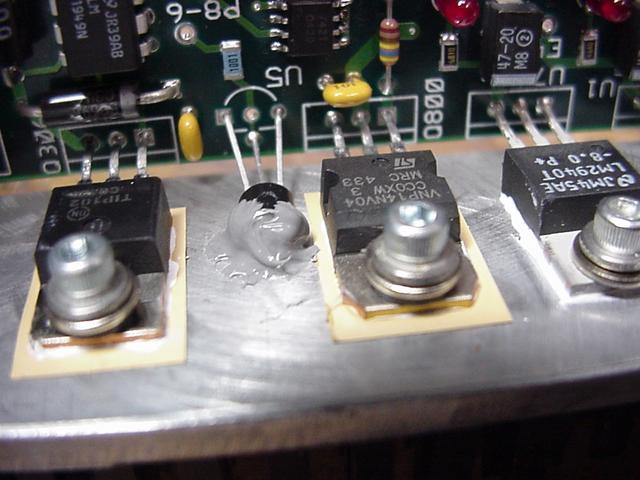
Pressed down in lace, soldered, then a little bit of RTV to keep in place.
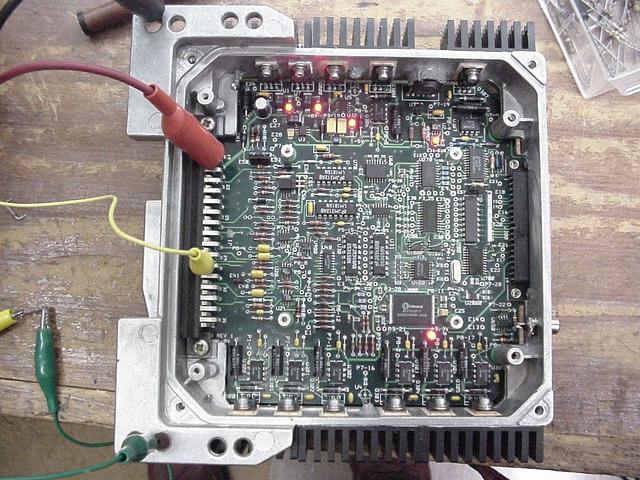
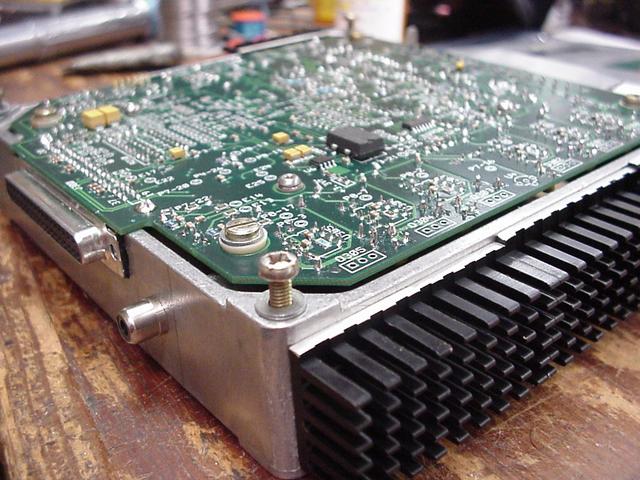
All done loading into the chassis and fired up. This ECM is beginning to take shape.