Wiring from Amphenol Plug to Engine
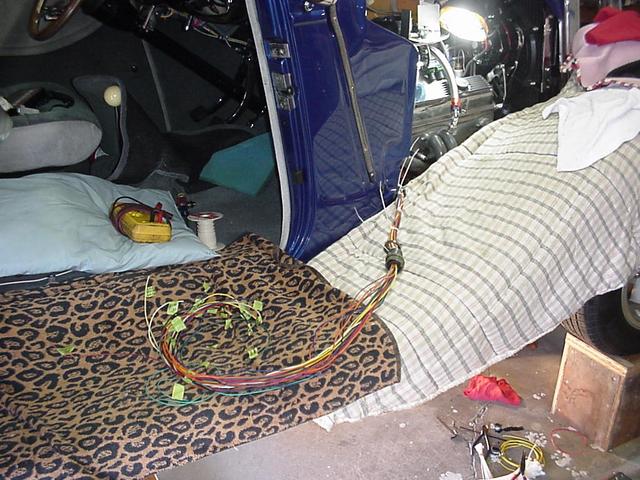
Time to install the air cleaner base and the wiring harness to the front of the car. This was a little easier to
solder on the plug because I could pull out the wire and do the soldering on the fender/running board. I also changed the alternator wire from 10 gauge
to 8 gauge. The 10 AGW wire just couldn't handle the necessary current the car needed. There was 300mv to 400mv drop between the
output of the alternator to the starter where it picked up the 000 cable to the battery in the rear.
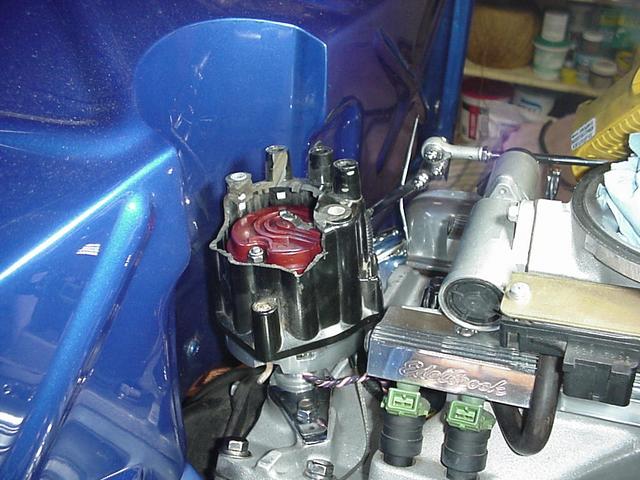
While the harness was out of the way it was a good opportunity to re-adjust the phasing of the distributor cap to the rotor. One
issue with using the small distributor cap is that the electrodes on the cap and rotor are a bit too small for computer controlled ignition advance. Using
the original points with mechanical advance as the timing was being advanced the rotor was also being advanced. The kept the rotor electrode fairly well
centered on the cap electrode. With ECM ignition advance, which is generally more aggressive, the rotor does not advance but the timing does. This increases
the distance between the two electrodes. When the shutter wheel was in the distributor you had no control over this relationship and all you could do
it take it on faith that they were close enough. On the '34 I am using a crank trigger for ignition timing and the distributor as the CAM index. Over
a period of time you can inspect the cap to see where the wear patterns is. This modified cap allows me to see the relationship of the cap electrode and
the rotor at different ignition advances.
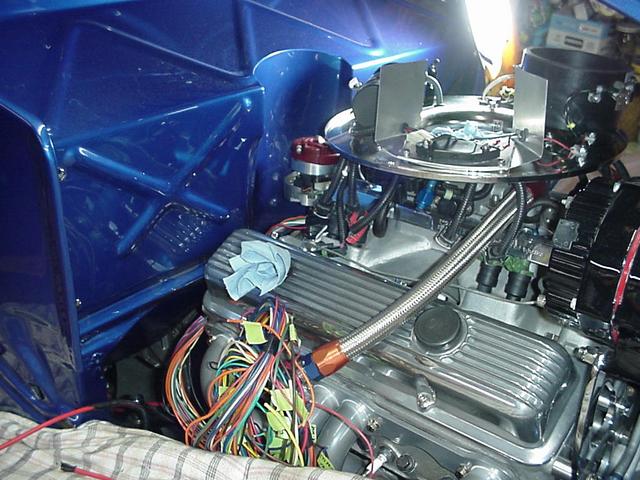
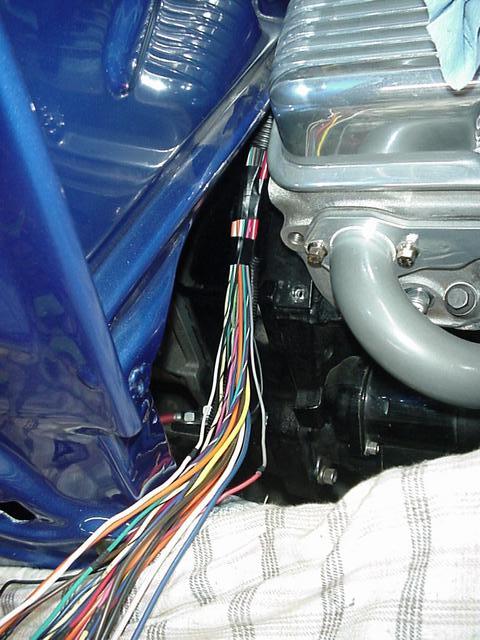
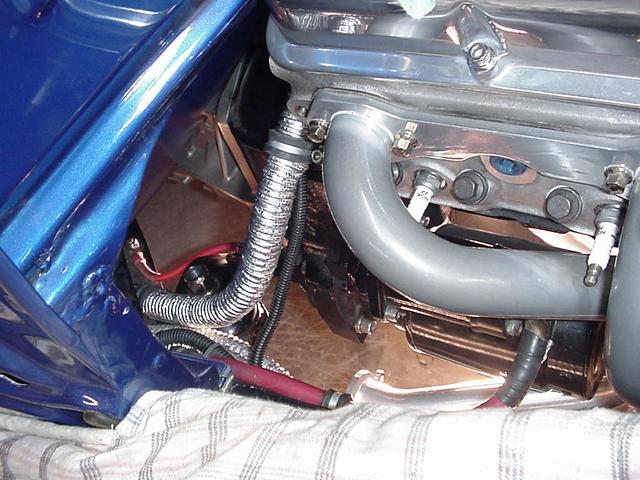
Start to feed the harness around the back side of the motor.
Routing the top side harness and getting ready to route the new #8 AGW alternator wire.
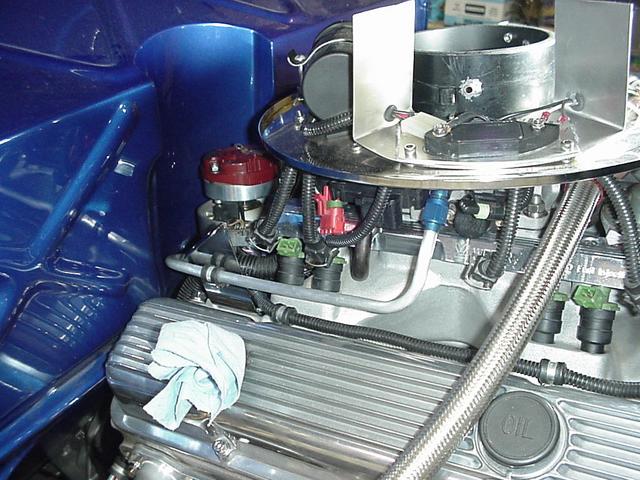
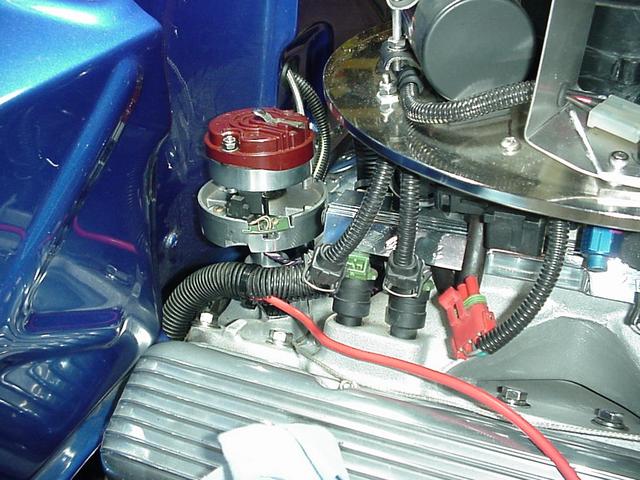
Alternator wiring done and vacuum line back in place.
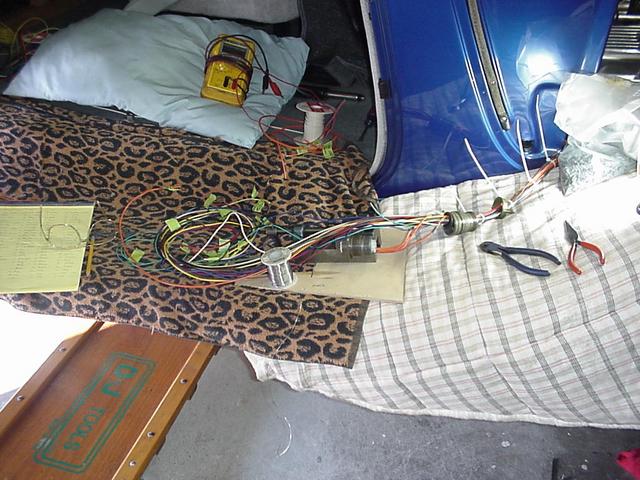
A little easy soldering this side compared to the other plug under the car.
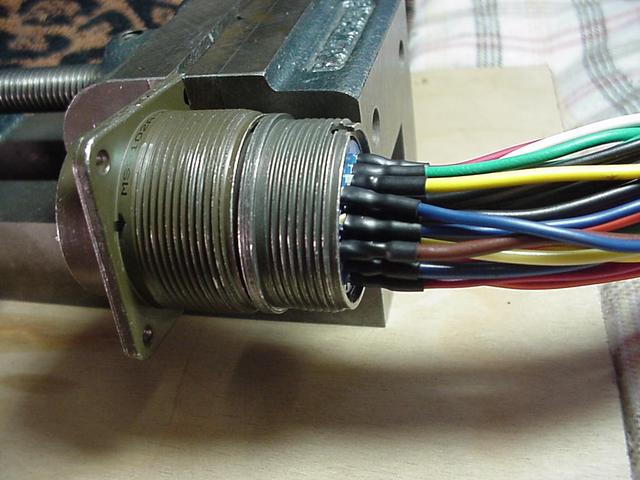
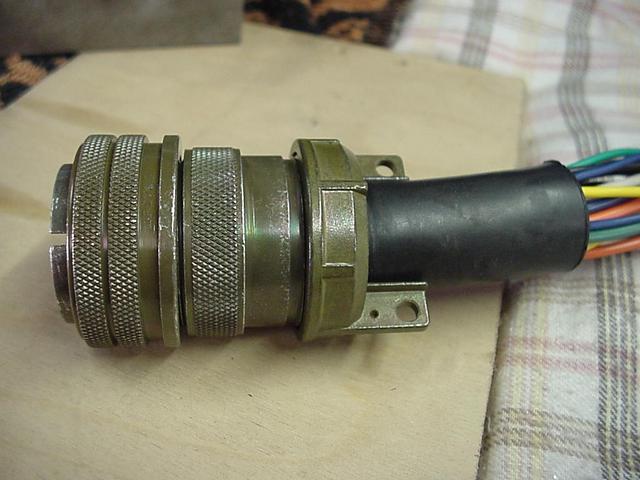
Plug final assembly.
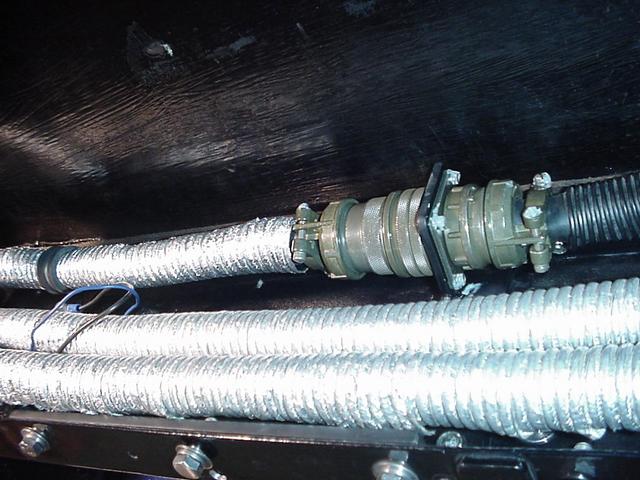
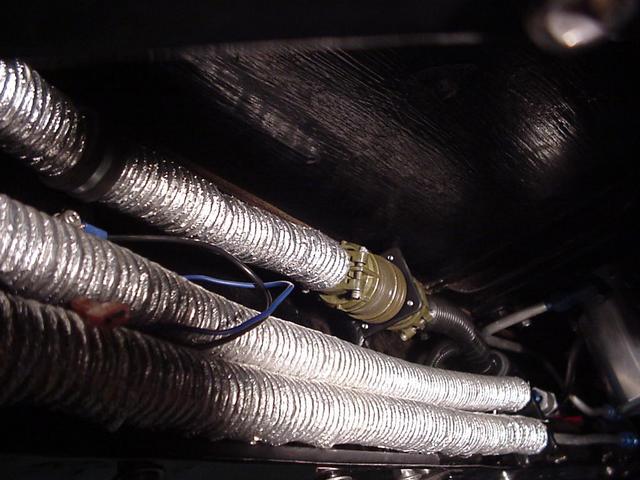
Plugs coupled together and final dressing.