Stainless Steel Fuel Tank
Well finally got tired of worrying about when
either the main Mallory fuel pump or the surge tank feeder pump (Holley
Red pump) would give out. The surge tank worked well for keeping
the main pump fed with fuel when going around turns but still had a
vapor lock at high altitudes and temperatures. Fuel would still
boil in the 18 inch line between bottom of the surge tank and the
intake of the high pressure pump. With the extremely limited life
of the brushes in the Mallory pump and the very poor quality of the
Holley feed pump the writing was on the wall, which one of them would strand me first....
The only real answer was to place the pump
inside of a baffled tank. I first looked into modifying my
original tank to fit an in-tank pump. A couple of items concerned
me. First was welding on a tank that had fuel in it and the other
was what was going to happen to the POR-15 coating on the inside of the
tank during the welding process. I wasn't to excited about doing
the welding myself. Tanks Inc., the manufacture of the original
tank, would do it. They basically said the 'most of the times
they don't blow'. Yikes, I don't want to around on one of those
bad days! What really made up my mind was the coating.
Welding in the flange and baffle would certainly damage the coating
inside of the tank with no good way to repair it. Just didn't
want a bunch of flaky junk clogging up that little inlet screen.
Finally decide to go with a stainless tank from Rock Valley. They
worked with me on optimizing the tank volume and neck placement.
I started with the dimensions of their 20 gallon tank. I made a
wooden jig that outlined these dimensions. Getting around the
2.5" exhaust pipes, which were built around the old tank, was a big
concern. I was able to take a little from here and add a little
their. Finally got a set of dimensions that would fit. The
total volume ended up just shy of 23 gallons. Because I had to
hit the hole in the gas tank cover exactly in the center there was no
way that they could have installed the filler neck. They sent it
along and I fitted to the car.
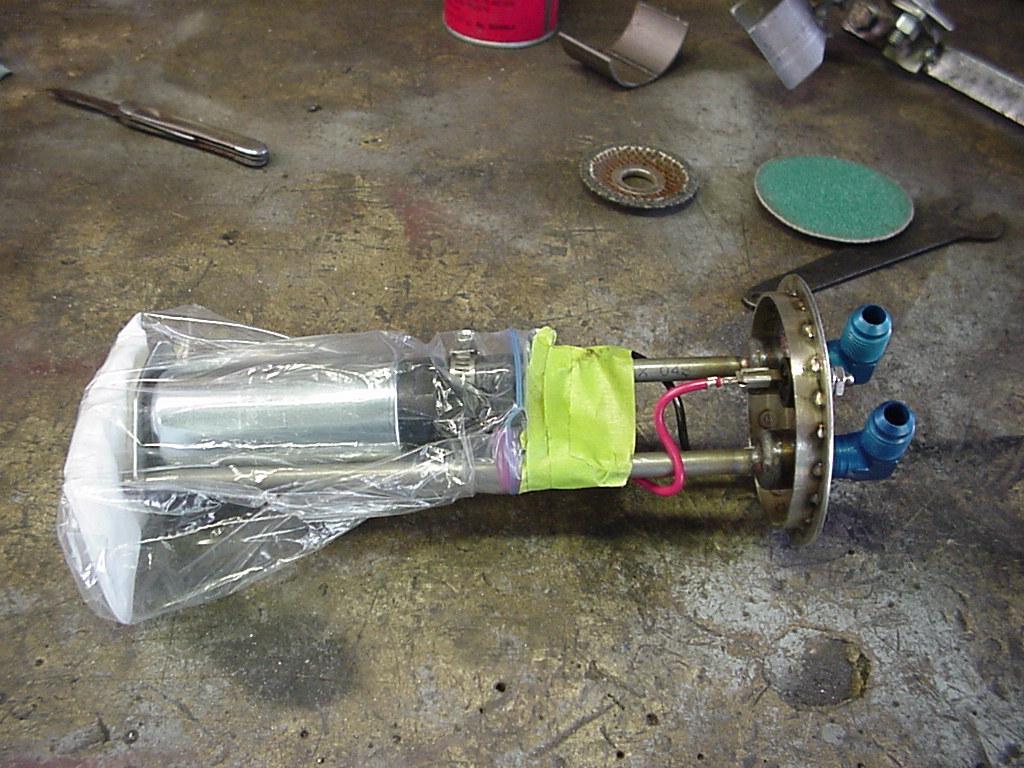
The fuel pump is a Walbro GSS340 255lt/hr high
pressure unit. The workmanship on the tank for the most part was
excellent. The only two nits where they didn't clean the inside
of the tank and who ever taped the sender holes was hung over something
fierce. You could do a better job of getting them straight if you
closed your eyes. They were so far off there was no way to ever
get the sender installed. As far as following my
drawing the dimensions were exactly as specified. If it
didn't fit it would not have been their fault.
 Filler Neck Installation
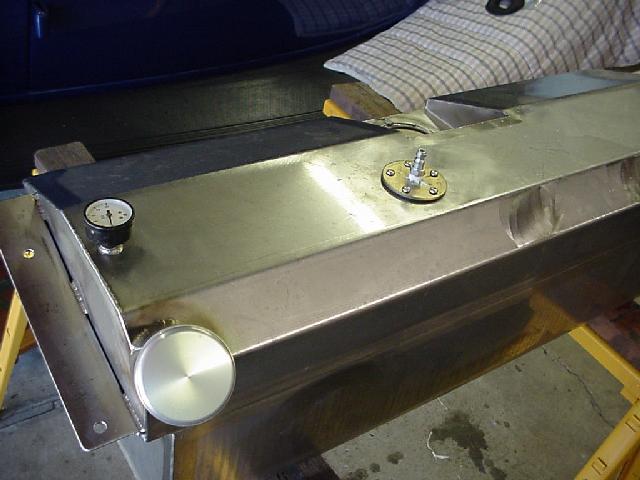
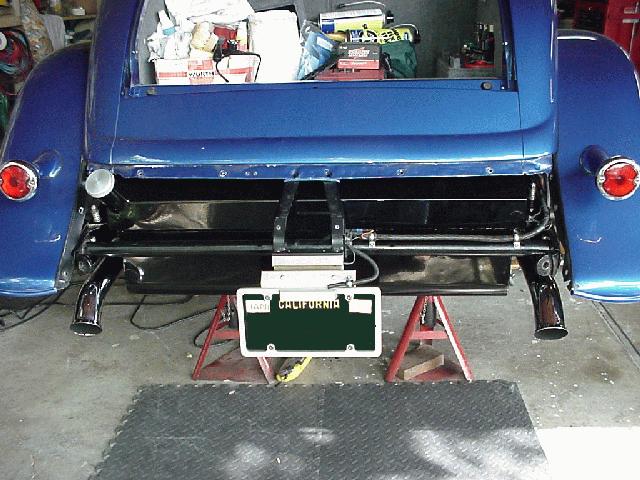
| The original Tank. |
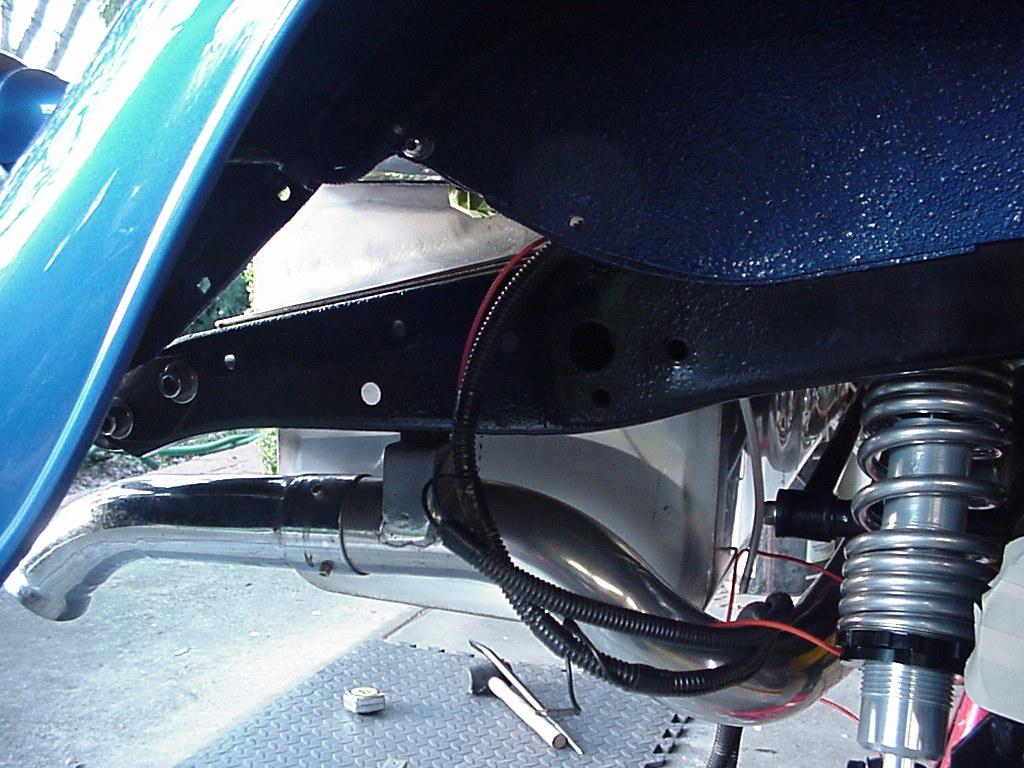
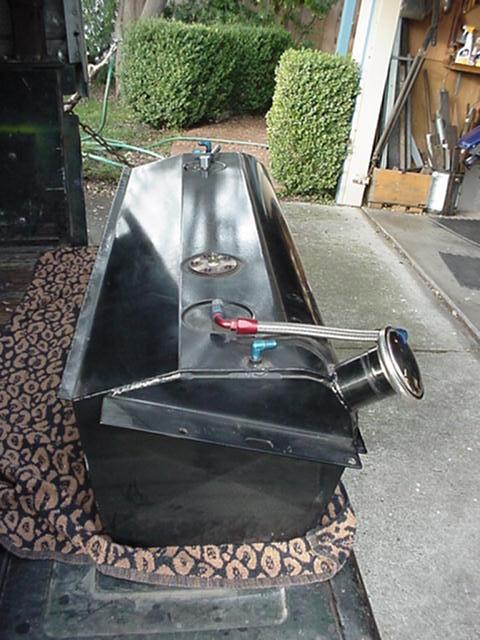 |
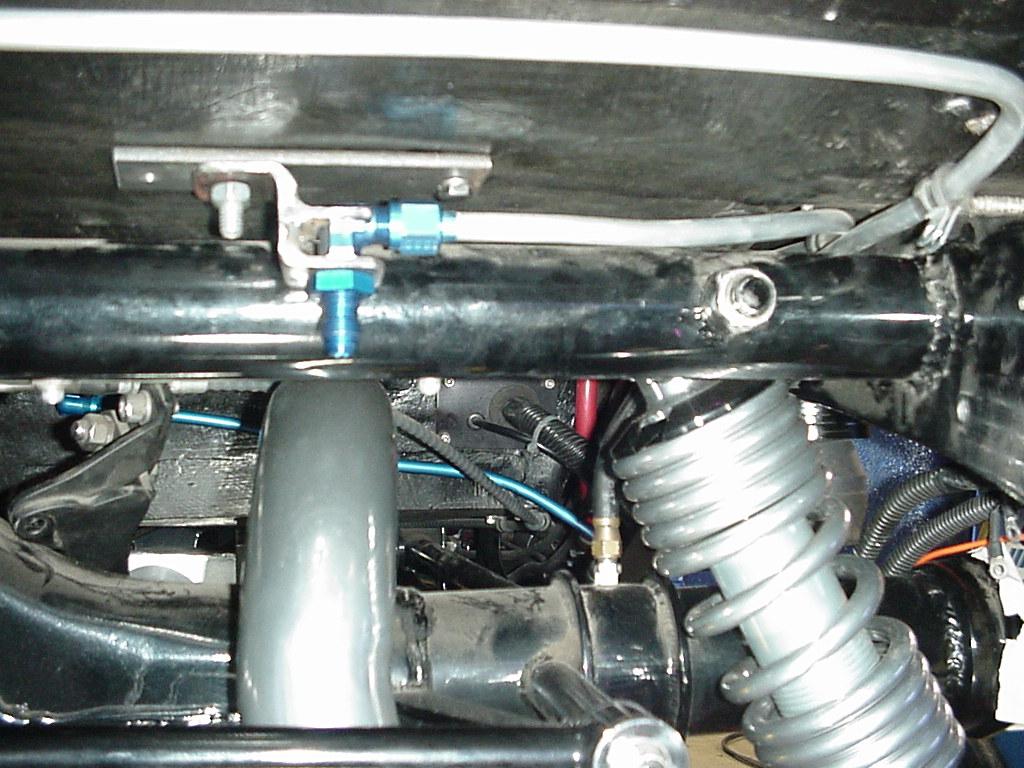
| A view of the vent system and original plumbing. The AN-4 is the venting system and the visable AN-6 hard line is the return. |
 |
| Nice job of taping the holes
for the fuel level sender. So far off the you couldn't install
the sender. |
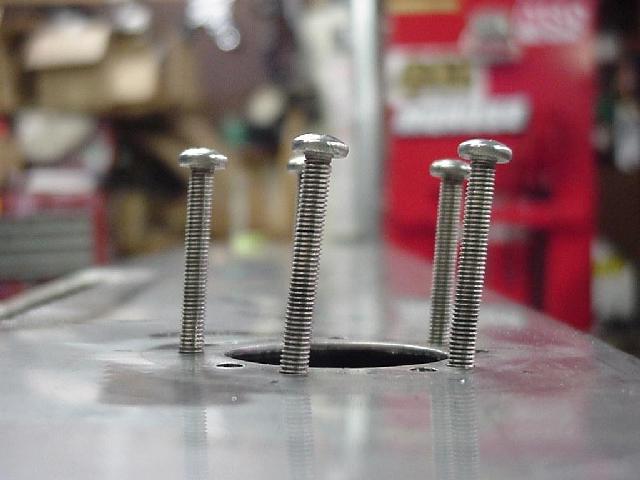 |
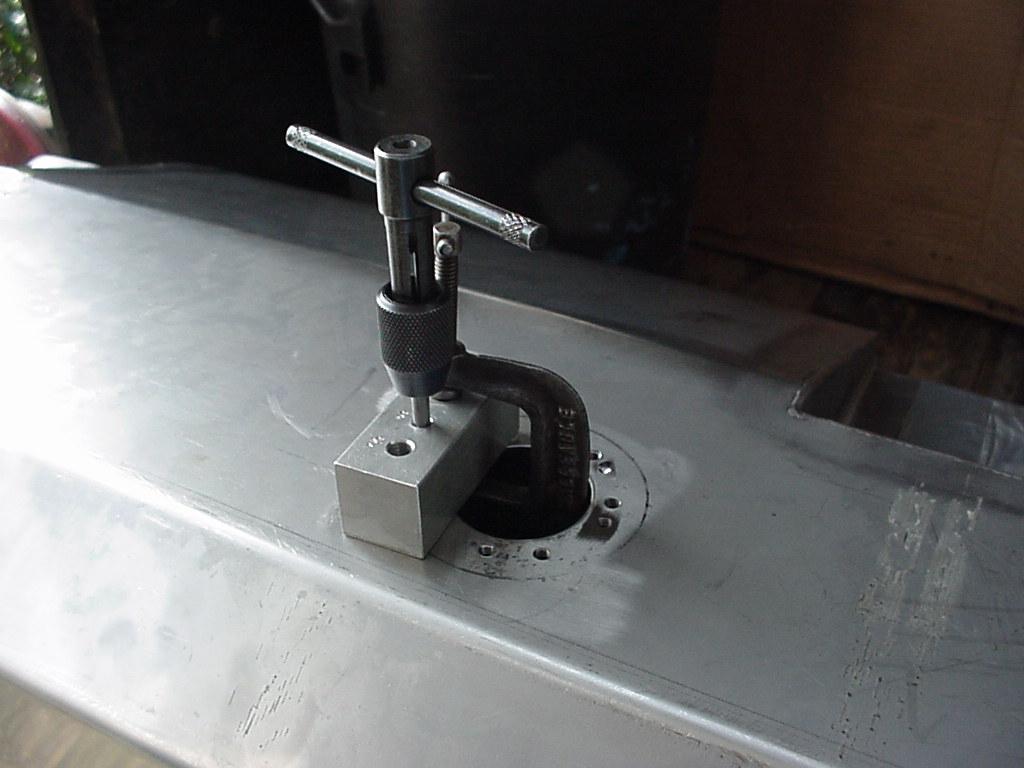
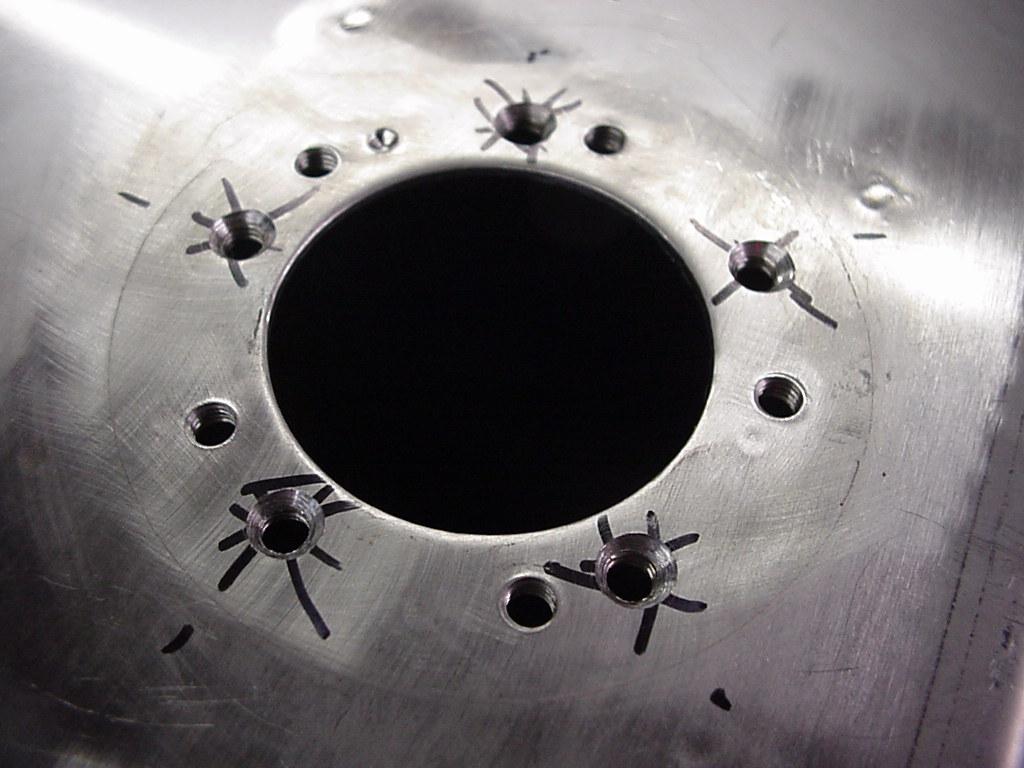
| I found that I could rotate the VDO sender mounting plate. So I located the new hole
pattern and tapped them straight! Next I countersunk the holes I wanted to not keep. |
|
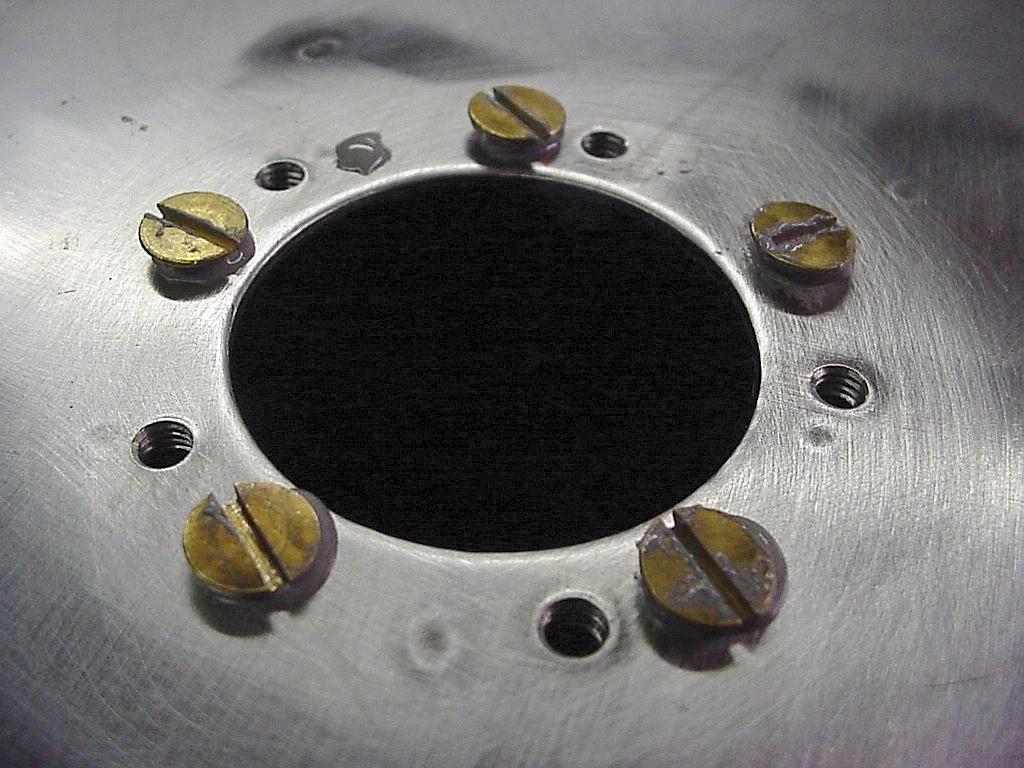
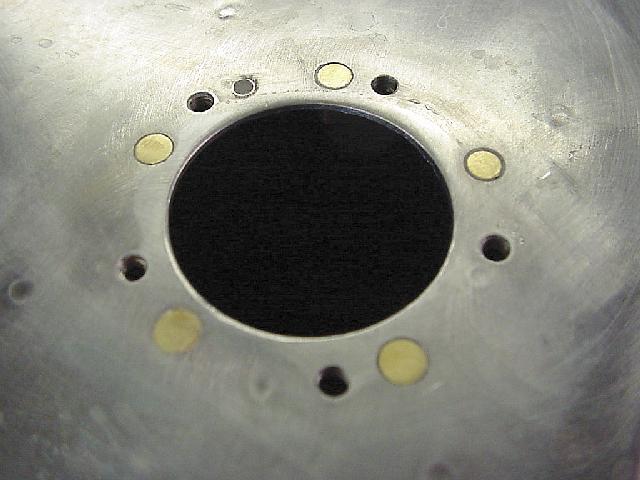
| Next I filled the theads and the area below the countersink with JB-Weld. Installed some brass
flathead screws and let setup for a day or so. |
 |
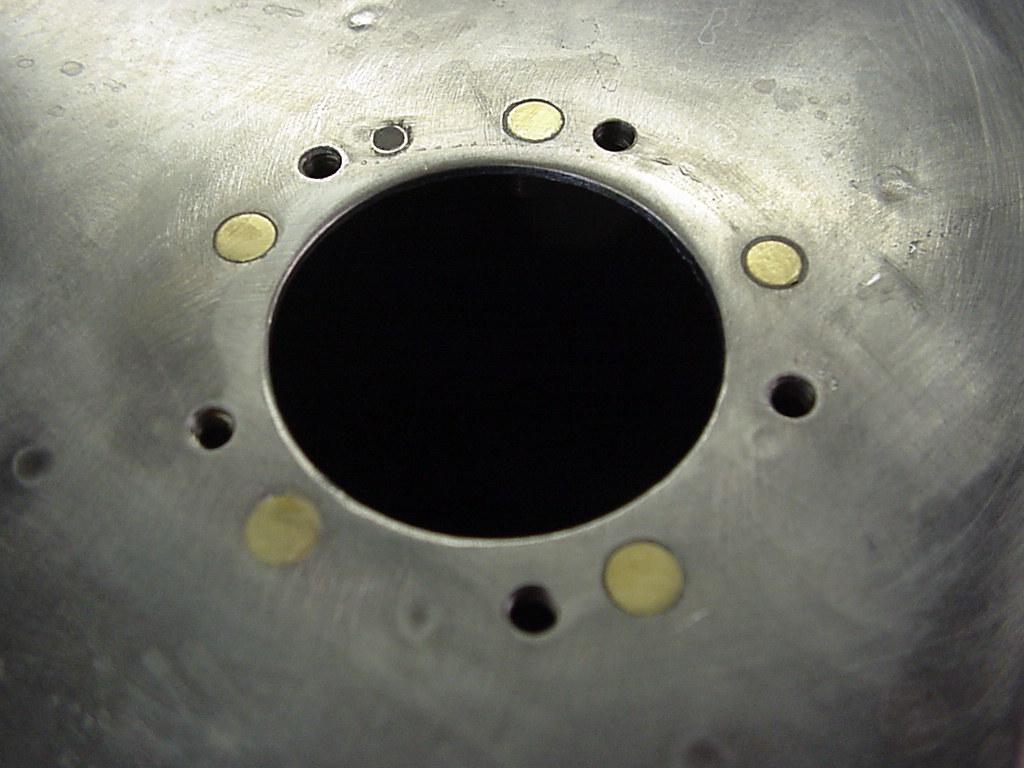
| After a little grinding and sanding ended you with a nice smooth sealed surface
again. Shouldn't have to have done this as much as this tank cost to build! |
 |
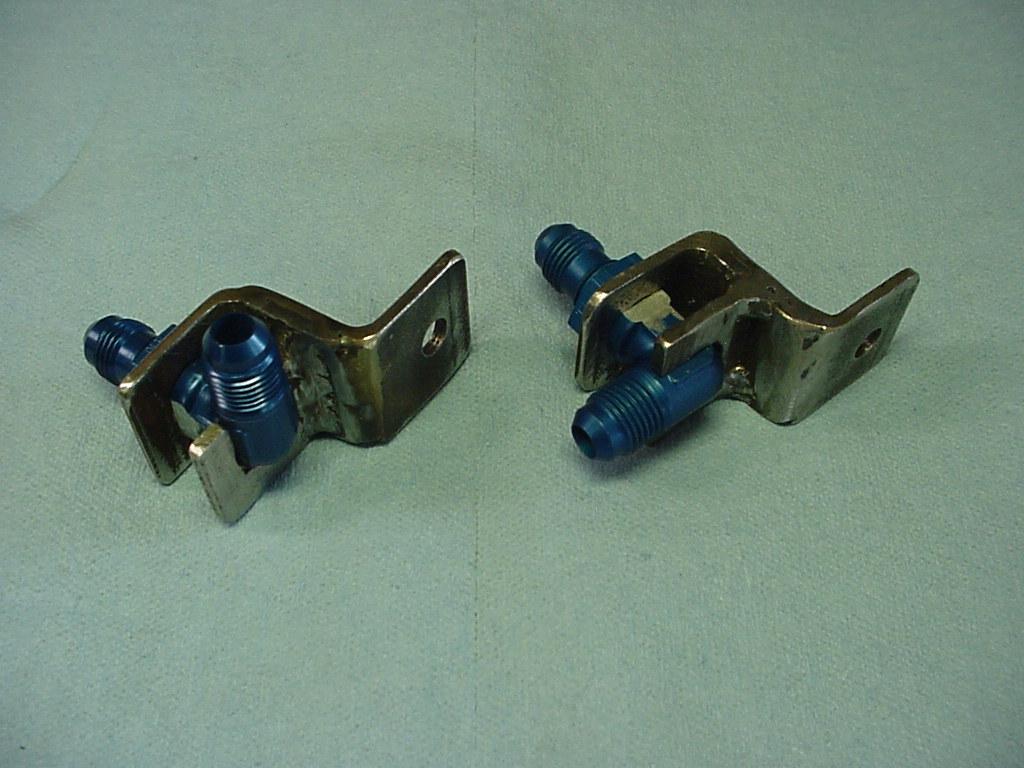
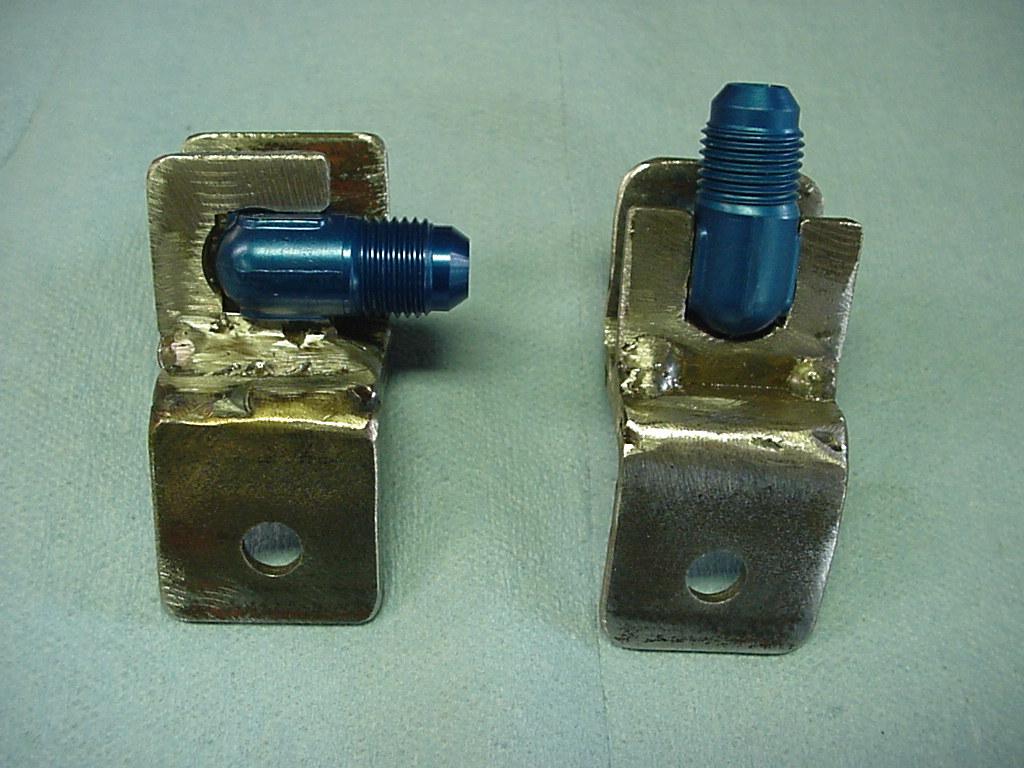
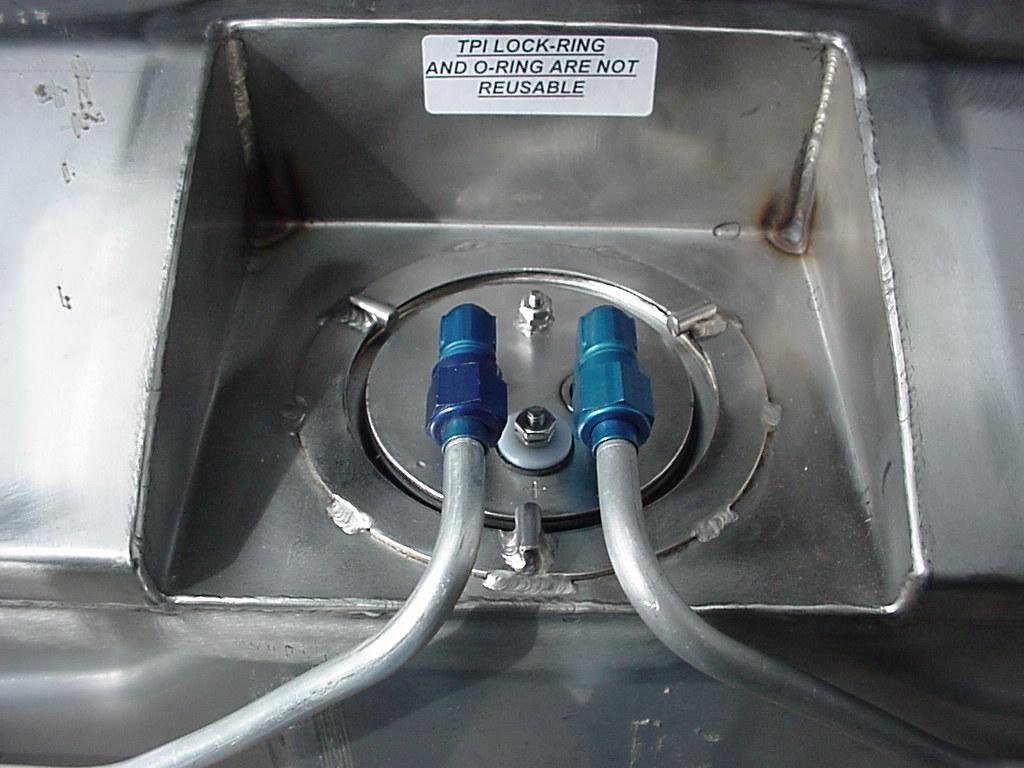
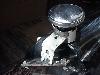
| Next I needed a couple hard points to run the feed and return lines to. There wasn't much room
between the front of the tank and the rear crossmember, and of coarse this was the only place to run the lines. Needed to make these
90's so that they wouldn't turn by themselves. I could only get a single wrench up into the restricted space to thighten the tube nuts.
|
|
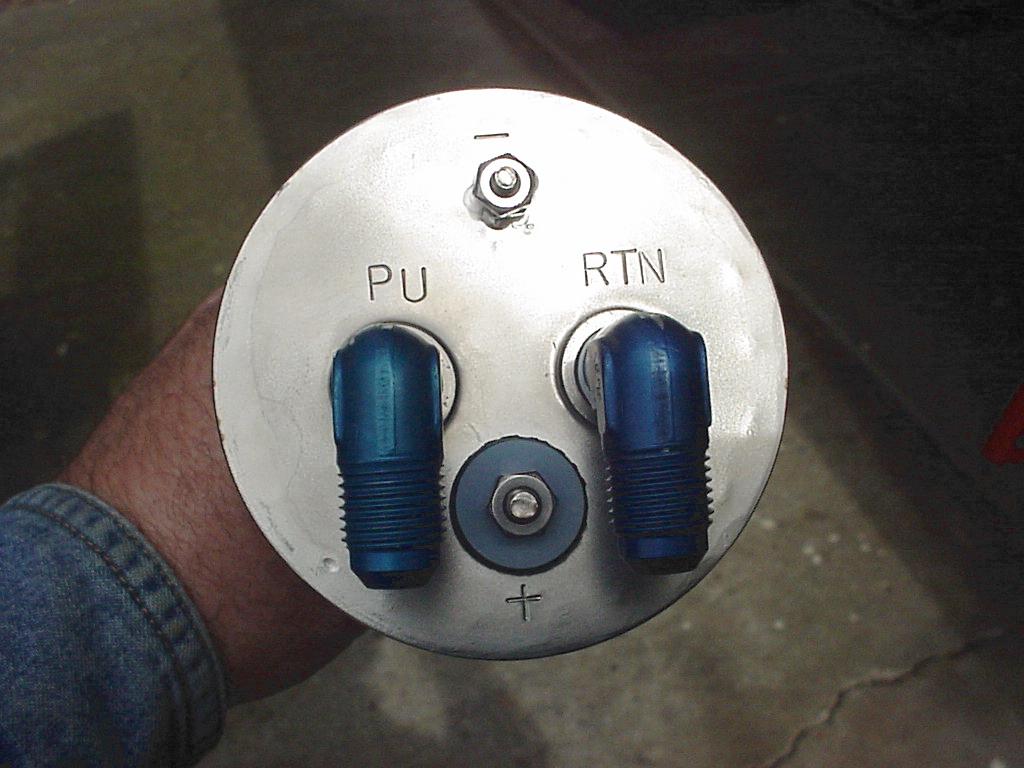
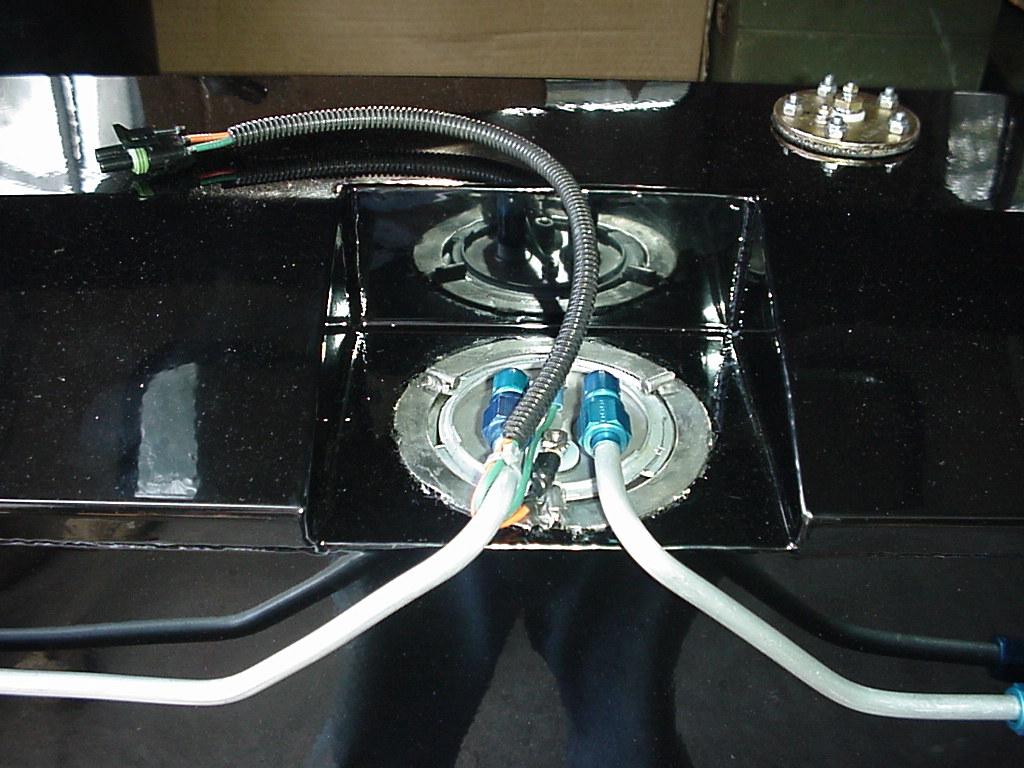
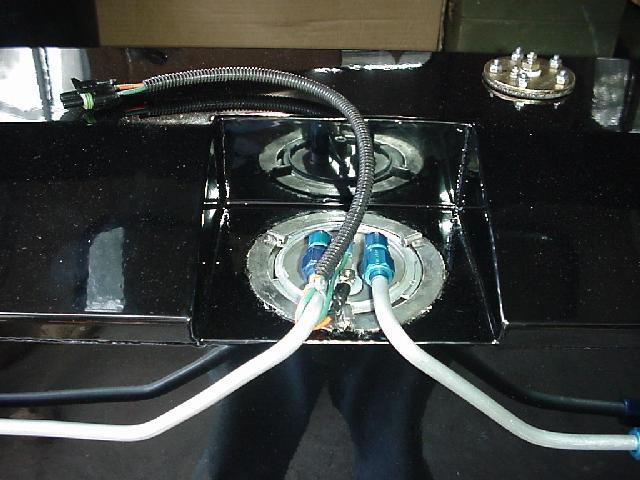
| The fuel pump assembly with the Walbro GS340 pump. One thing that was a royal pain was how close
they put the the 1/4" pipe fittings. There was just not quite enough room to swing a 90 degree AN-6 fitting. Another 1/16" is
all that was needed! |
|
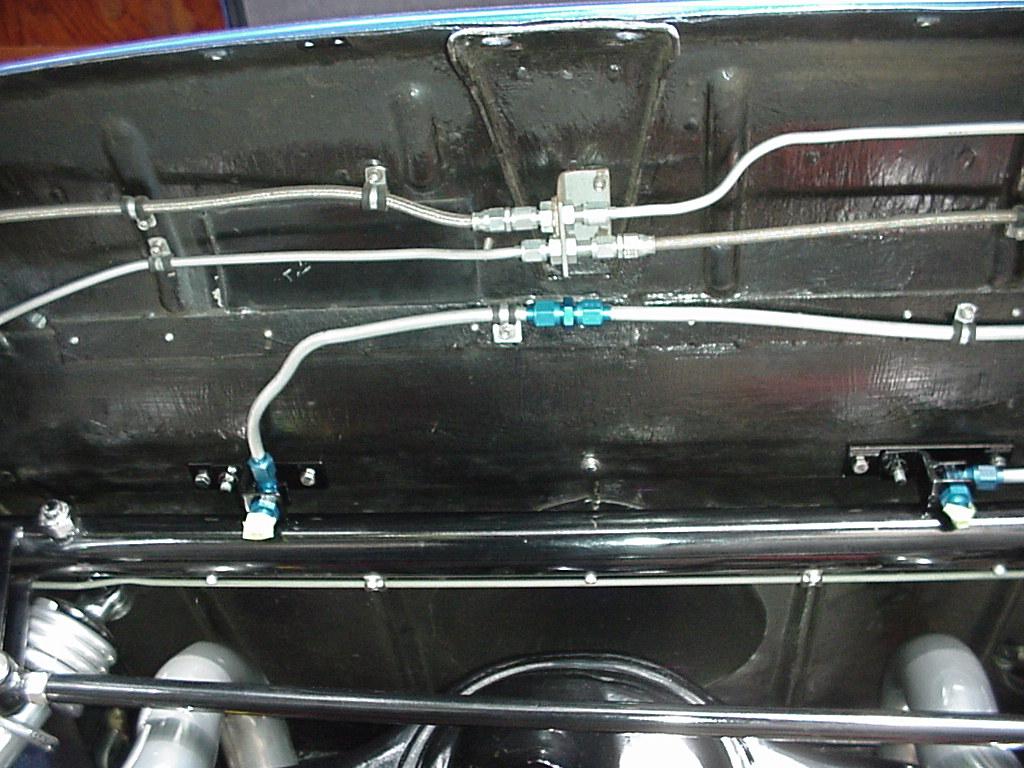
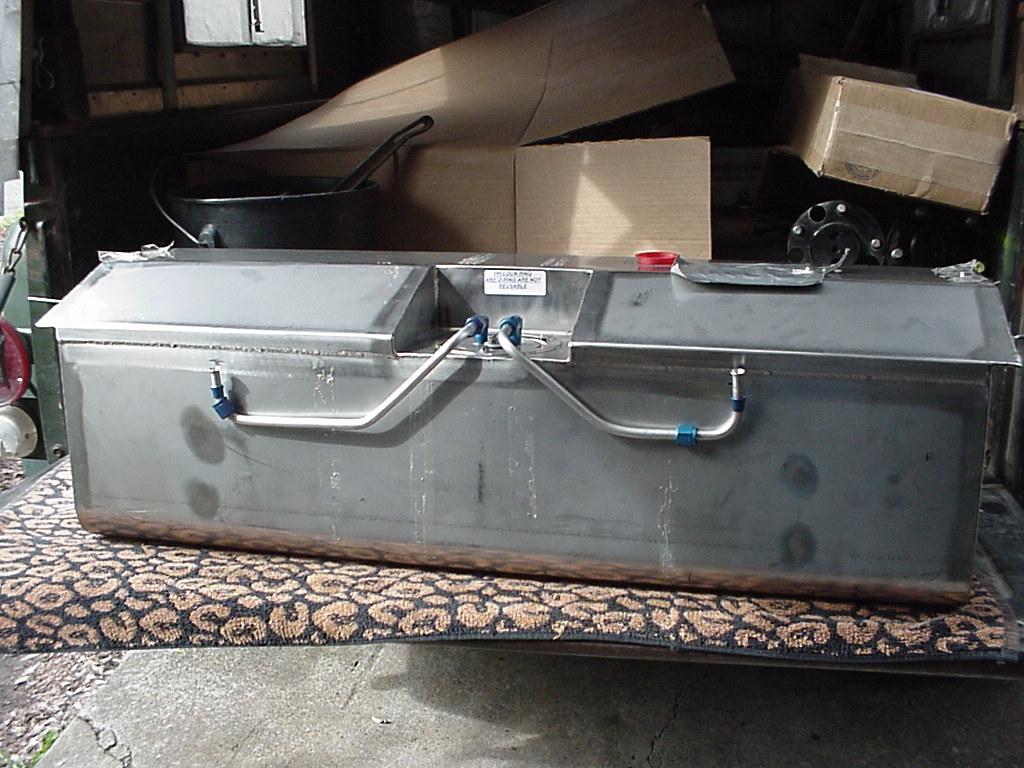
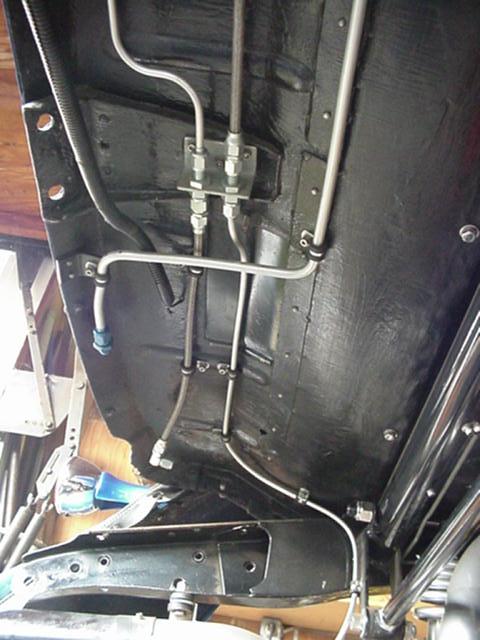
| Plumbing between tank and hard points mounted on the floor pan. |
|
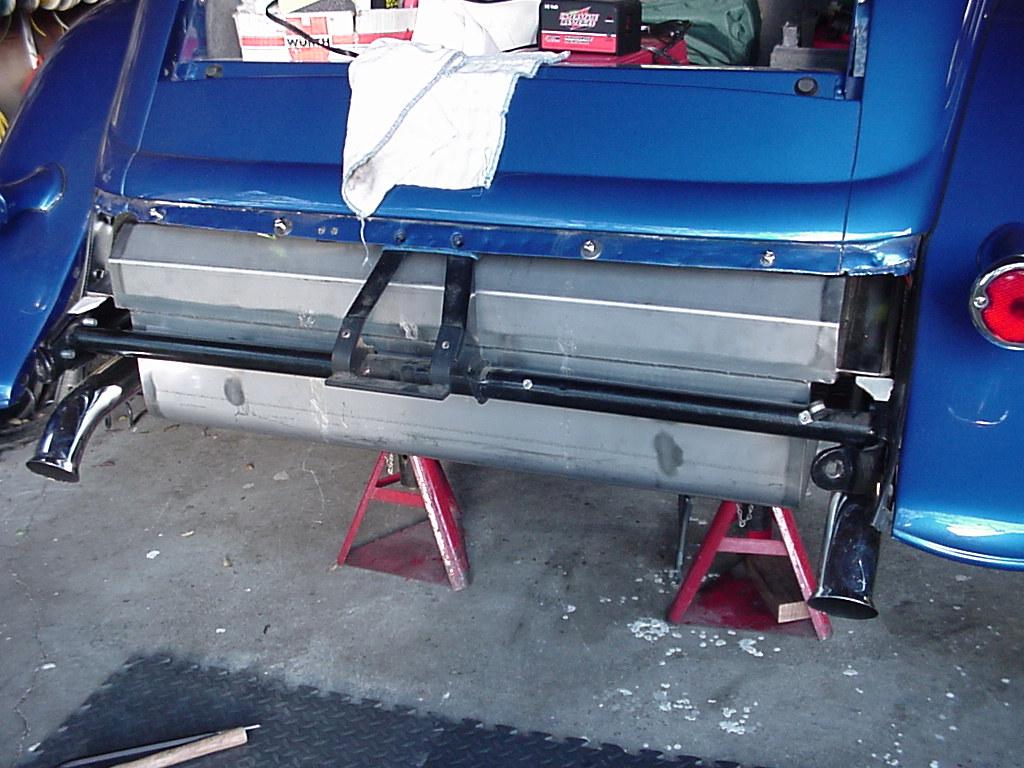
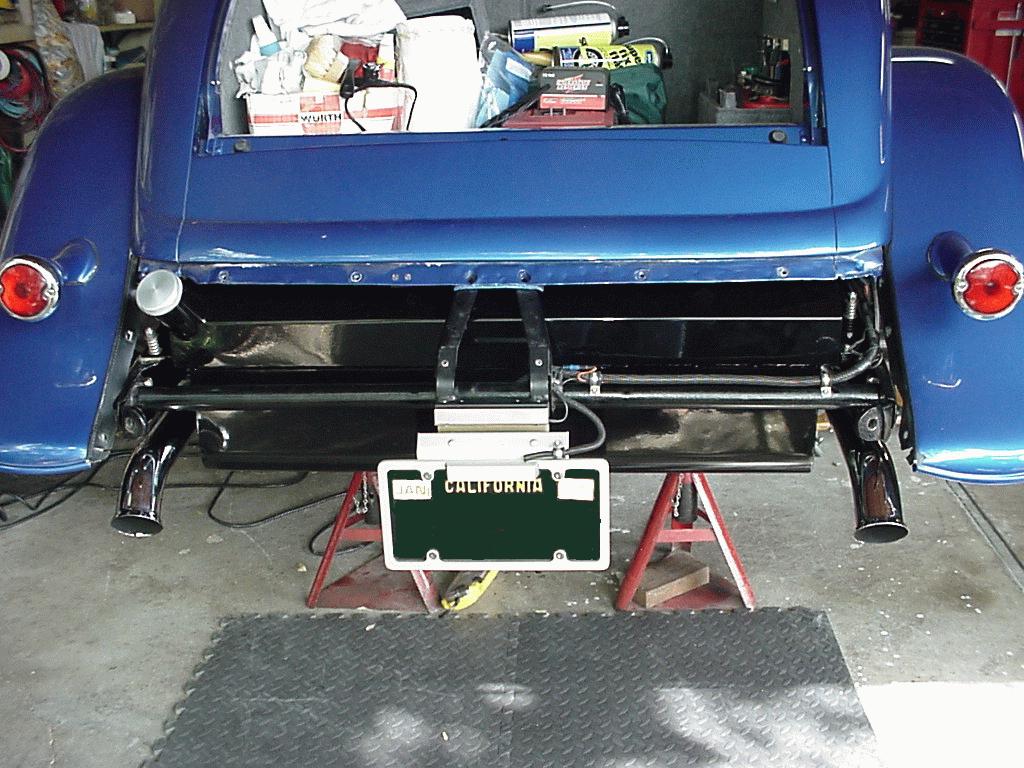
| Final test fit into the car. Some tight clearance between suspension and exhaust. |
|
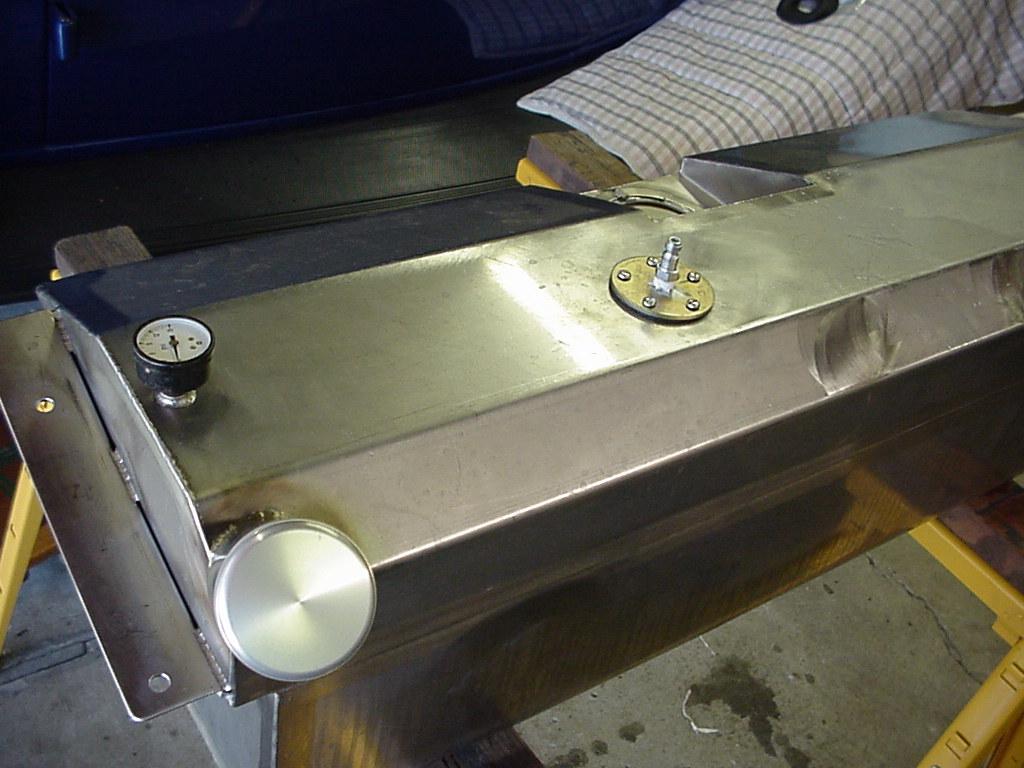
| A final pressure test before powder coating just to be sure there were no surprises. |
 |
| Powder coated and ready to install for the last time. |
 |
| In the car for the final time... Or at least till the next time it comes out! |
 |