ImageReady – top and rollovers placed in Dreamweaver
| 1. |
Name all the cells – slice. |
| 2. |
For top – select
slices and in Save as Optimized dialogue box pick Selected Slices
in the bottom field. |
| 3. |
For top output settings
go to saving files and in the Put Images in Folder field add top
to the images title: "images_top". |
| 4. |
Save as top.html. |
| 5. |
For rollovers
– select slices and in Save as Optimized dialogue box pick
Selected Slices in the bottom field. |
| 6. |
For rollovers output settings
go to saving files and in the Put Images in Folder field add top
to the images title: "images_ rollovers". |
| 7. |
Save as
rollover.html. |
| 8. |
Open top.html in Dreamweaver
in a new or appropriate site. |
| 9. |
Create new table or new
cells for rollovers and content. |
| 10. |
Cut Javascript from rollover.html
and put in head of top.html. |
| 11. |
Cut rollover table –
paste in TD cell of the new table. |
| 12. |
Put in space gif in second
TD of new table and put in pixel size or put in text. |
| 13. |
Put background within Page Properties
dialogue box as the background image.
|
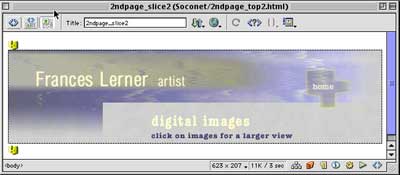
This is the top set of slices that were opened in Dreamweaver the way
they were set up in the ImageReady application. Even the rollover works.